Syncing local users with the cloud has never been simpler, Synchronization Service Manager and Active Directory sync make the process easy.
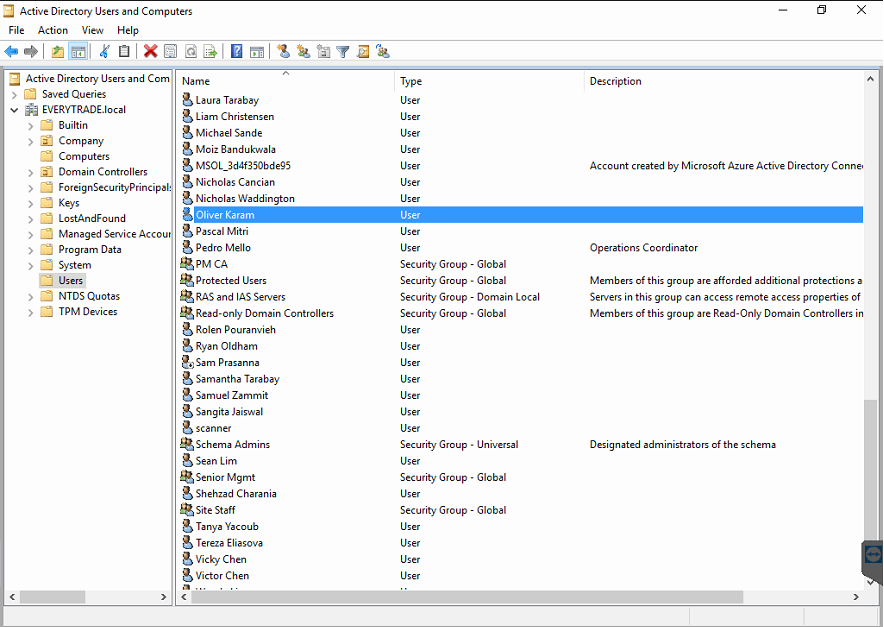
The first step is the create a local user in Active Directory. Open Active Directory Users and Computers
Put as much details into the New User creation form. It is also very important that you make zero mistakes with spelling as the Full Name gets synced to the cloud.
We also find it easier if users login to computers locally with there email addresses, next to the User logon name change the logon domain, in this example a user would login with [email protected]

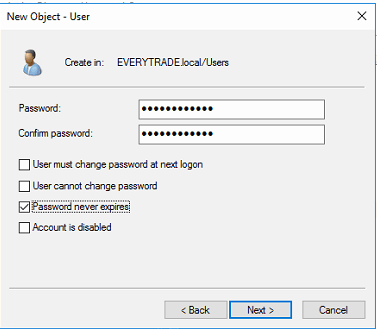
Specify the users password and check the box, password never expires. Password expiry is typically important for all clients however this particlar client does not want to enforce password expiry.
User creation summary. Press Finish.

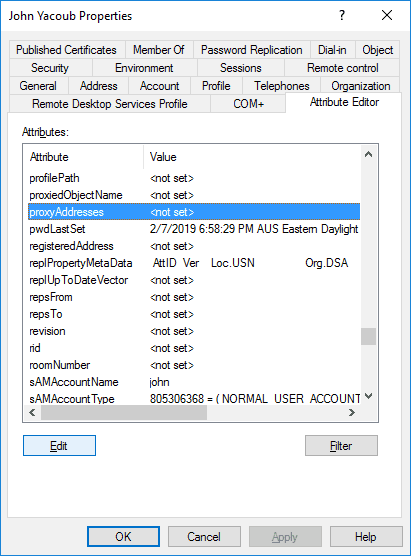
Now we need to create the attributes for the Office 365 account. Locate the user in Active Directory Users and Groups, right click the user and select properties. Go to the Attribute Editor tab and locate proxyAddresses, press Edit
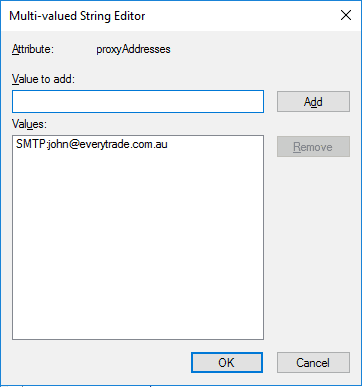
The Multi-valued String Editor will appear. This is the ALIAS of the mailbox. There are two types of ALIAS, the primary and secondary. The primary is the alias used for all outbound mail additionally this will allow you to recieve mail from the aliases.
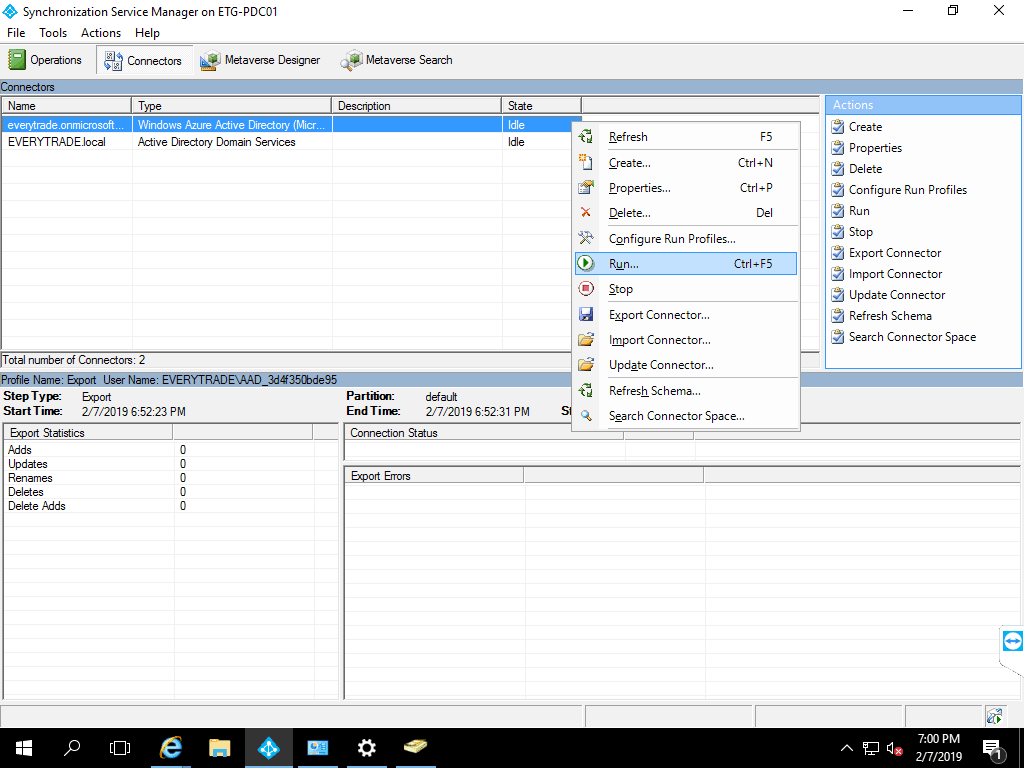
Time to sync the account to the cloud. Open Syncronization Service Manager. There are two connectors defined. One connector pushes changes and the other pulls changes.

To sync, right click on one connector and press run. The Run Connector window will appear, select the Full Synchronization profile to run.

Select the second connector and right click, press run.
Run connector will appear, run the full sync.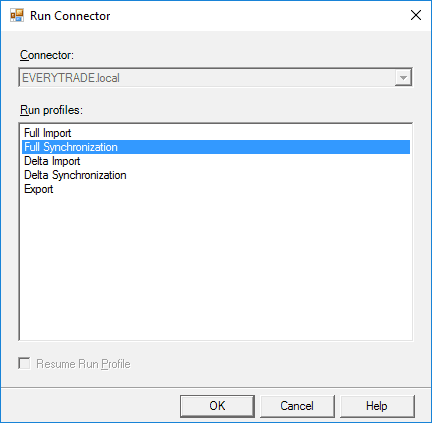
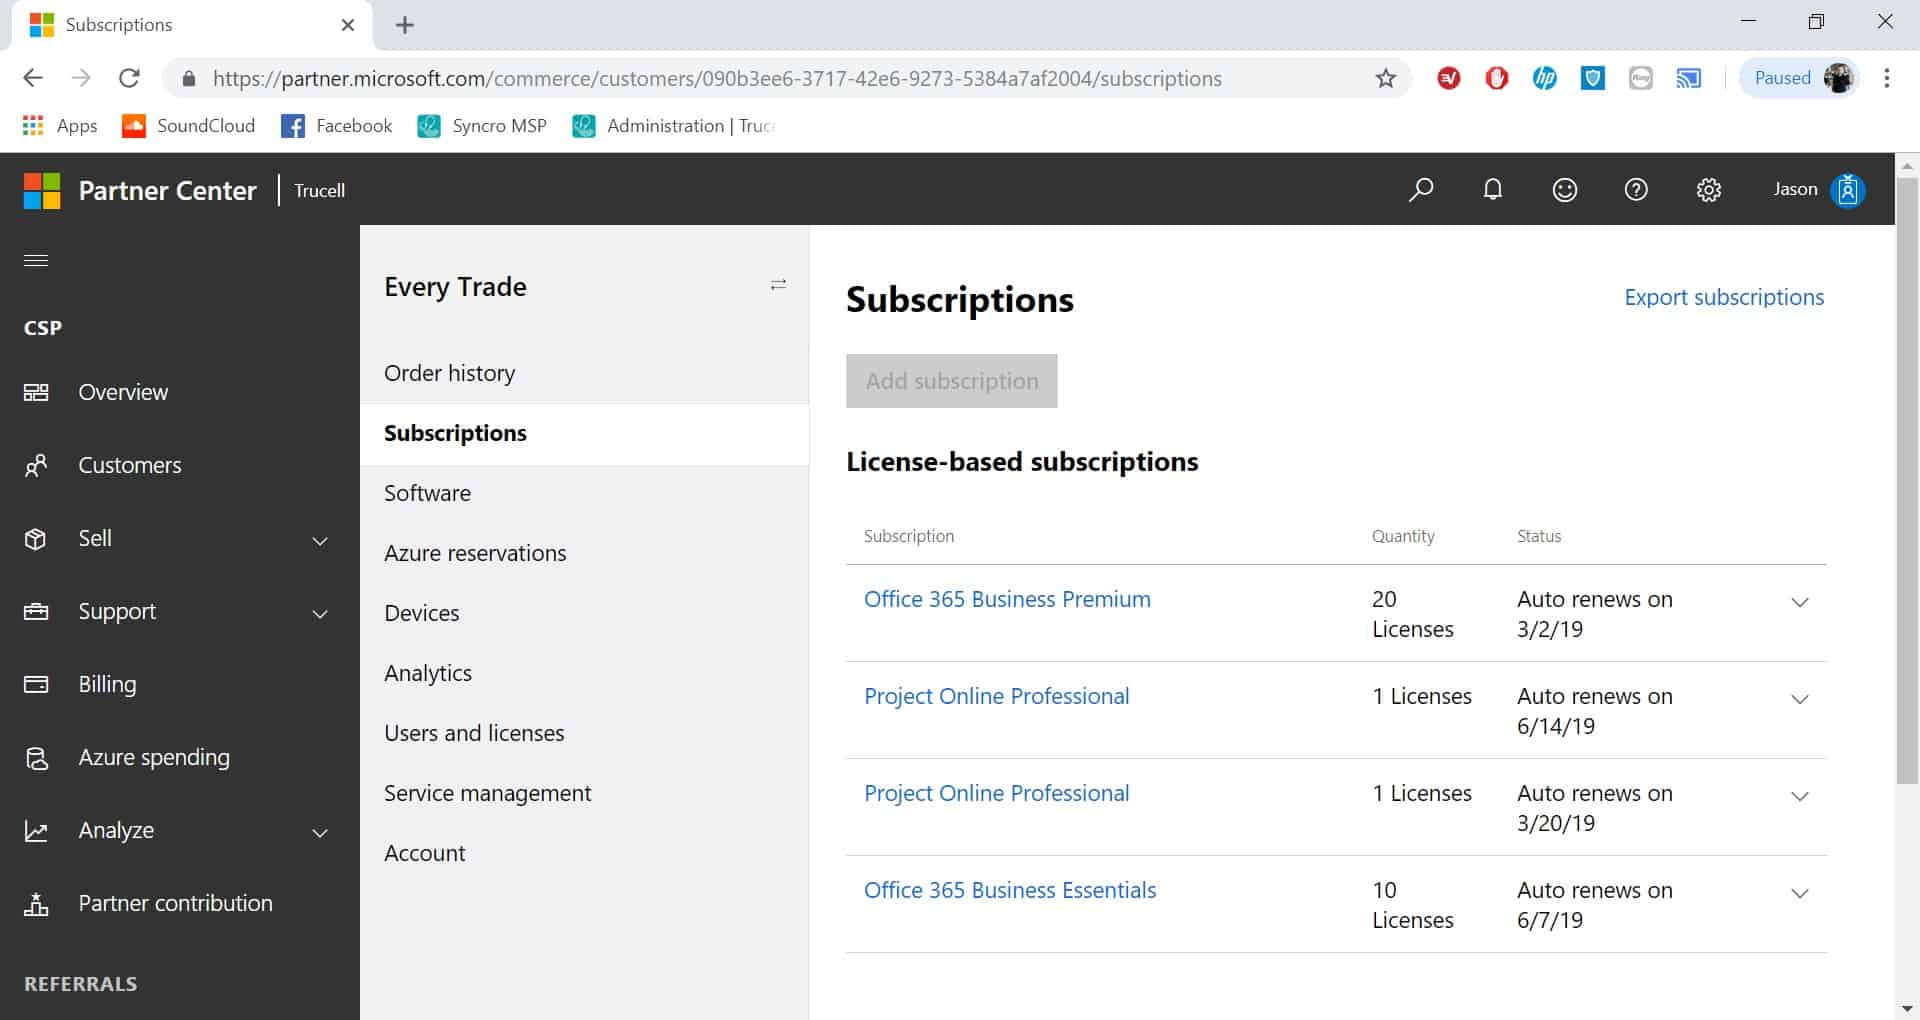
Open the partner center https://partner.microsoft.com/en-us/pcv/dashboard/overview , go to Customers and select the customer.
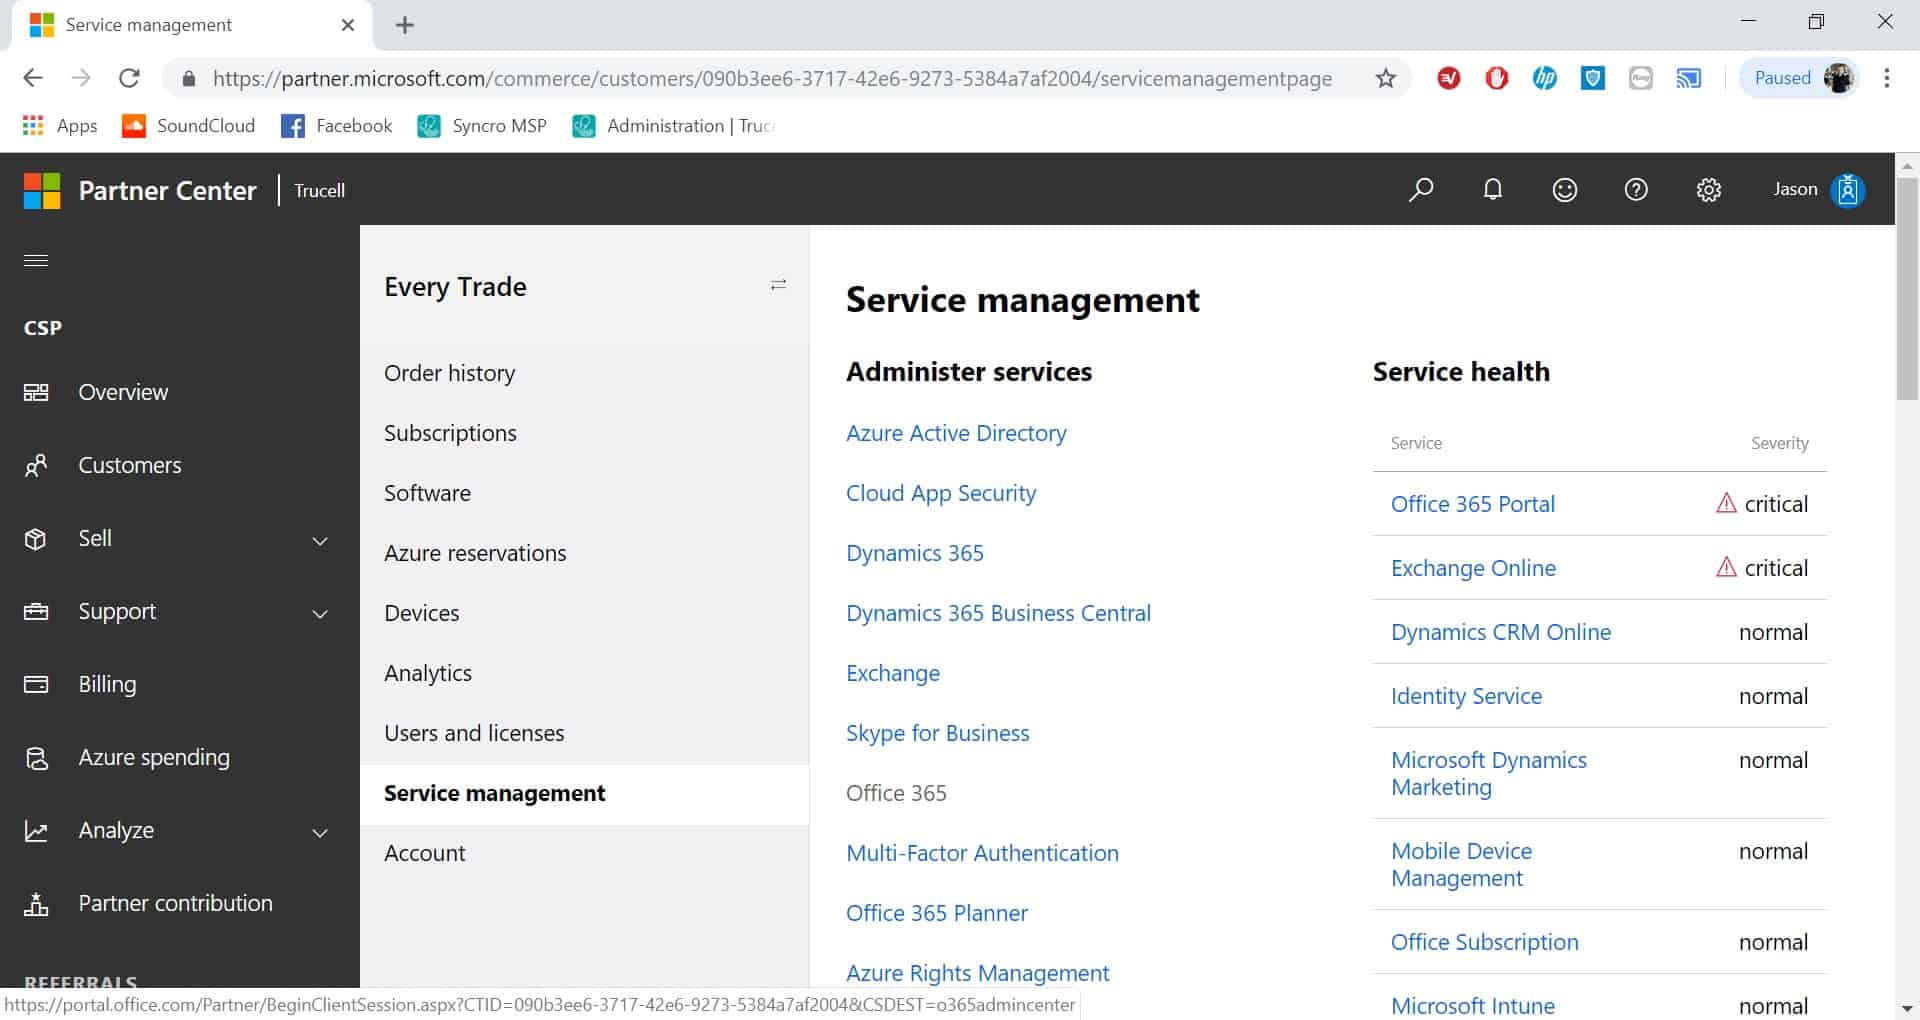
Under the customer, go to Service management and click Office 365.
Microsoft 365 Admin Center, AAD Connect Status shows the sync status of Active Directory. Click Users -> Active users

Locate the user.

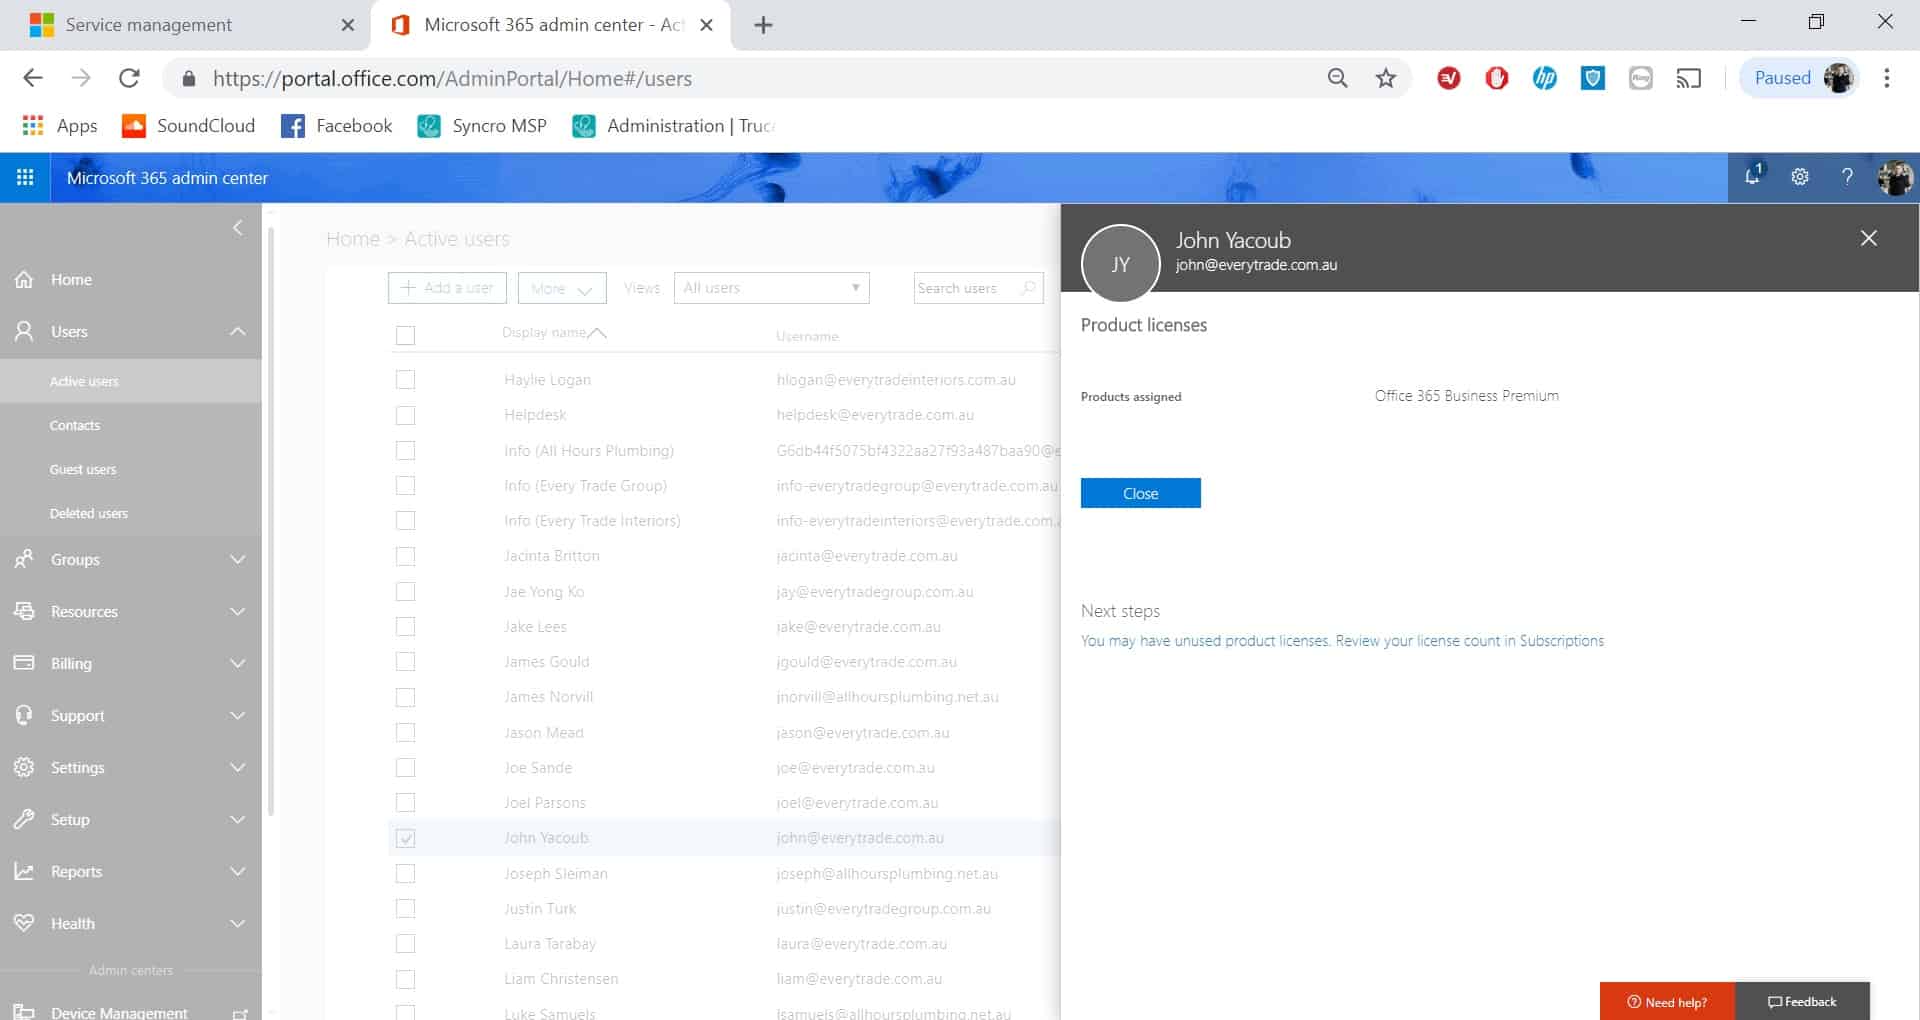
Assign a License to the user by pressing Edit on Product licenses.
Product licenses summary, press close.
You have now successfully created a local user which can sign into a computer on the domain. Additionally we have sync the user to Office 365 and licensed it with an available license.
Please contact the user and provide them with there user details.
Related topics:
- Add Office 365 Mailbox to Mobile Phone
- Add User to Security Groups for File System Access
Recent Comments