As one of the lead medical imaging software packages in the Australian radiology space, we are always getting asked by clients to provide installation instructions or a user guide on how to perform the installation of Intelerad Medical Systems Interviewer. It is a fairly straightforward installation and to begin with, it is important that you have administrative access to the PC or Apple computer you wish to install the software on. A username and password for an account that has access to an Intelerad server, and finally 10 minutes to perform the installation.
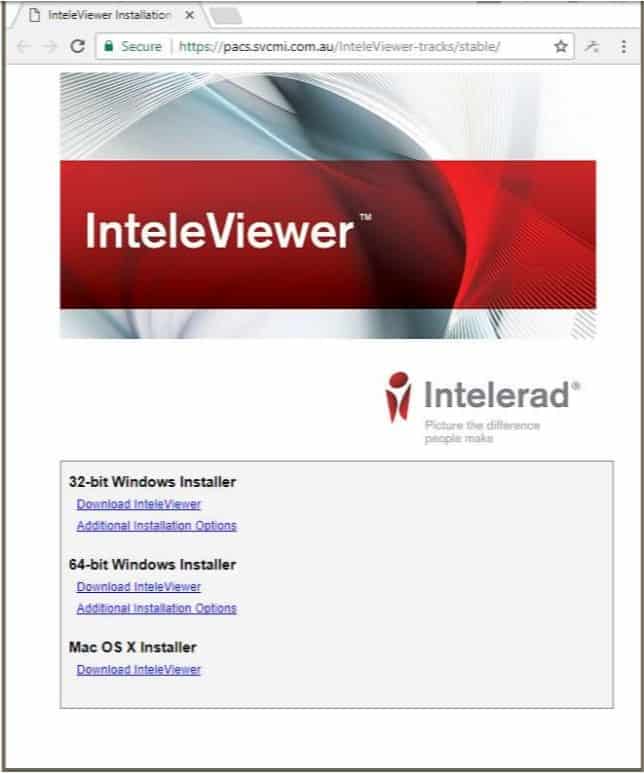
- Browse to the clients Intelerad Server Internal or External Address (Example https://pacs.svcmi.com.au/InteleViewer-tracks/stable/ )via your web browser
- Microsoft Internet Explorer
- Microsoft Edge
- Mozilla Firefox
- Apple Safari
- Google Chrome
- Any other internet browser
- Based on the operating system and architecture of your operating system, you will need to select which installer to download In this example, I am running Windows 10 64-bit edition and will need to select the 64-bit Windows installer and click Download InteleViewer under that menu (example below).
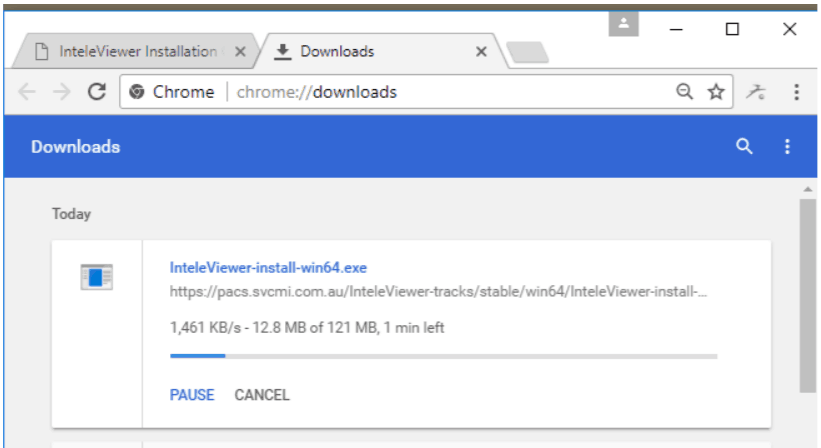
- Wait patiently as InteleViewer downloads
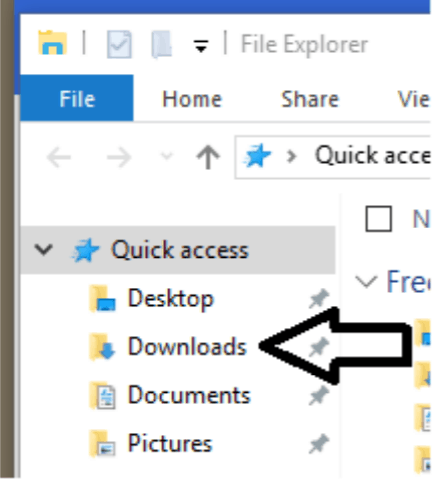
- Once loading is complete, please go to the folder where it downloaded (generally it’s in your Downloads folder) and run the installer as an administrator (if possible). Hint: You can access this via the Quick access menu in your file explorer window on Windows 8/10.
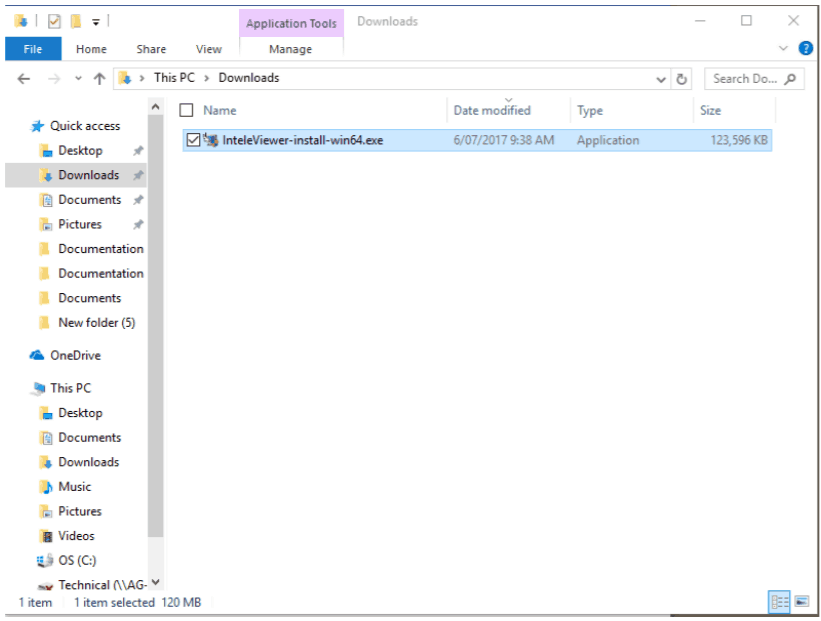
- Double click the file you downloaded and it will open.
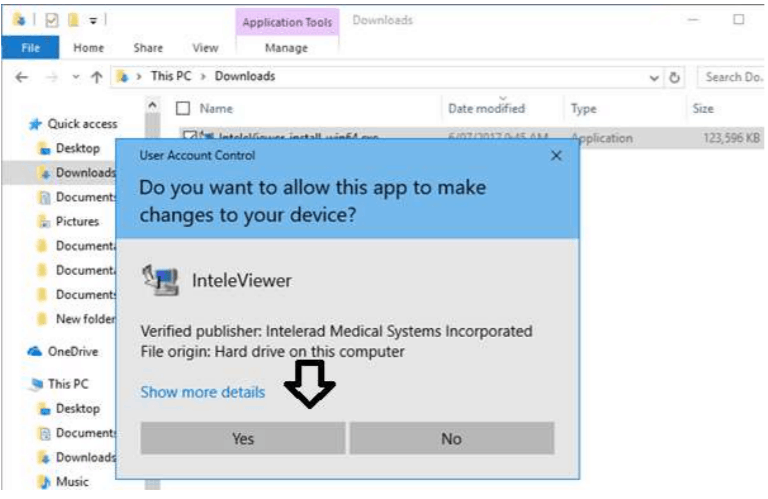
- If you are prompted to allow the application to run, please click Yes
- Please wait while the installer initialises
- InteleViewer’s license and terms +conditions of use will open. In order to proceed with the installation please select “I accept the terms of the License Agreement” and then click the Next button.
- You will also need to agree to Oracle’s Java licensing. In order to proceed with the installation please select “I accept the terms of the License Agreement” and then click the Next button.
- The installation will ask where you would like to install InteleViewer, in this example we will leave the installation folder as default. It is only in rare cases where you may be required to install it to another folder. Please click the Next button to proceed.
- The next window will ask if you want all users to be able to upgrade InteleViewer. This is solely up to the end-user. In this example we will allow all users, as this guide is installing the stable track which means the upgrade process will only install the latest stable version. Please click Next.
- Please leave this disabled as this is not required, please click next
- Please wait patiently as InteleViewer installs.
- Once the installation has completed the installation window will disappear.
- The InteleViewer installation will create the following shortcuts:
- Desktop
- Start Menu
- Please click or double click one of the shortcuts above to open InteleViewer.
- When you open InteleViewer for the first time, a prompt will appear asking which server you want to connect to. Please click the button Enter a New Server.
- The new bookmark window will open.
- Please type the complete URL on the next line in the Server URL text box and click the OK button: example https://pacs.svcmi.com.au (NOTE: Don’t include the https:// as it will not work, check it is correct by pinging it first.)
- Once the address is verified, the bookmark will display in the InteleViewer window. Please note: The bookmark will not be able to be added without internet access.
Recent Comments