All Posts By

Jason

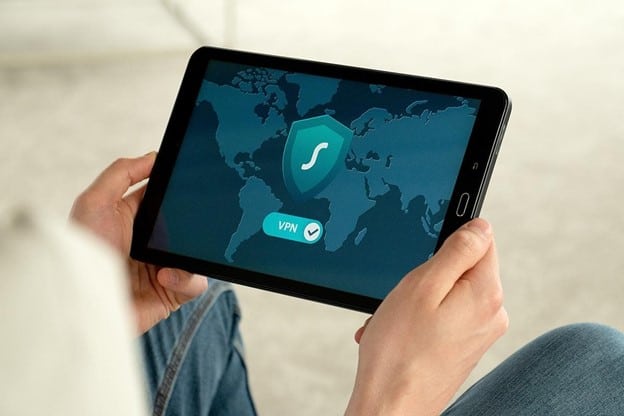
Person Holding a Tablet

How To Choose Your VPN To Boost Protection Against Cyberattacks

By Cybersecurity No Comments

Public networks expose your business to security threats. Switching to a VPN can greatly help in reducing those threats.

Many companies rely on public networks for communication and data sharing. It allows them to cut costs and allocate their funds elsewhere. 

However, it also raises several security issues. 

For starters, the network provider might be monitoring the activity, which gives them access to customer details, emails, and critical files. As a result, sensitive information can end up in the wrong hands, compromising the organization’s reputation. 

Another potential consequence is losing access to bank accounts, credit cards, and invaluable resources. These issues can lead to huge losses for any business.

Your business might be facing the same risk whenever a team member connects to a public network. 

To eliminate it, you need to switch to a virtual private network (VPN) or secure global network (SGN). Both offer online anonymity and privacy, enabling you to conduct your operations away from prying eyes. 

Still, you can’t go for just any VPN or SGN. This article features the 10 factors to consider when choosing the right one.

The 10 Factors

Factor #1 – Location

The location of your VPN or SGN servers is essential for a few reasons. 

For example, the greater the distance between your server and your business, the higher the chances of facing latency issues. That’s why to ensure a seamless surfing experience, stick to the nearest server available. 

Furthermore, you can also consider a VPN or SGN from the same place as the content your team needs to access to overcome geographic restrictions. If your work requires research from the UK, for example, find servers from that country. 

Factor #2 – Price

Using free VPNs or SGNs might be tempting, but they deliver a lackluster experience. To start with, they can log you out of internet activities and are often chock-full of disruptive ads. 

You’re much better off investing in a paid platform. They come with various robust features, a larger number of servers, and configurations to bolster your security. 

Factor #3 – Device Compatibility

Another detail you should consider is the compatibility of your VPN or SGN. 

In most cases, you need software that can work with several devices, such as your smartphone, laptop, and tablet. Otherwise, cross-platform work will suffer. 

Factor #4 – Capacity

Before choosing your VPN or SGN, make sure to determine the amount of data you can use. That means if your operations warrant tons of online resources, you should pick a solution that supports considerable data allocation. 

Moreover, check the number of online servers. The higher the number, the more efficiently your platform can support resource-intensive tasks. 

Factor #5 – Protocol Support 

Protocols are rules that stipulate connections between the client (software on your device) and the server. 

There are different protocols, but the most widely used ones include PPTP, OpenVPN, IPSec, SSL, SSH, and SSTP. Each offers varying speeds and levels of security, both of which are vital to your company. 

For instance, OpenVPN is an open-source protocol and one of the safest options for enterprises. It runs on 256-bit encryption keys and advanced ciphers, offering robust protection against cyberattacks. Plus, it features excellent firewall compatibility.

Factor #6 – Data Logging Policies

VPNs and SGNs log user data to streamline customer support and limit available connections. However, you need to consider what information they’re logging. 

In most cases, this includes session times and IP addresses. But some providers can also log your software, downloaded files, and web pages you visit. 

When looking for a suitable VPN or SGN, be sure to read the data logging policy to determine the information the app will store. You should also verify the company is transparent; if someone tries to deceive you, turn down their offer.

Factor #7 – Availability of a Kill Switch

No cybersecurity measure is fail proof – VPNs and SGNs are no exception. Overloaded platforms can trigger IP leaks, interrupting your private connection and exposing your true address when online. 

To avoid this scenario, look for platforms with a built-in kill switch. It disrupts your devices’ access to the internet in case of IP leaks. The kill switch stops transfers of unencrypted information and can help prevent cybercriminals from obtaining your data. 

Factor #8 – Updates

Your VPN or SGN provider needs to roll out regular updates to ensure you can perform your operations safely and efficiently. 

If they don’t openly specify the update frequency on their webpage, find out when the last update was on your app store. It should give you a clue on how frequently the updates get sent out.

Factor #9 – Centralized Management

Centralized management enables you to control VPN or SGN distribution more easily, allowing you to manage access permissions and user accounts. Some of the best apps even feature gateway or role-based access management. It permits users to access only those segments of the network they need to perform their jobs. 

Another important consideration here is control from your console. IT administrators should have permission to open and delete accounts as well as check the devices linked to the platform. 

Lastly, your organization might benefit from VPNs or SGNs with IP whitelisting. They allow administrators to approve the IP addresses of your enterprise to ensure only members with a verified IP can use corporate resources. This feature provides granular control over network accessibility. 

Factor #10 – Customer Support

Customer support might be the most significant factor. Your provider should be easy to contact through different portals, such as telephone, live chat, and email. 

Easy accessibility lets you inform the VPN or SGN developer about various issues. For instance, they can help restore your network if it goes down and prevents unwanted exposure. 

Most client support teams are highly accessible, but make sure to verify this by reading customer reviews. 

Safeguard Against Cyberattacks With a Bulletproof VPN

The digital world is rife with challenges, especially if your business uses public networks. Loss of data can happen at any time, which can give your competitors the upper hand and tarnish your reputation.

That’s why switching to a VPN or SGN is one of the wisest investments you can make. 

To make the most of your service, find an app with dependable security features, customer support, and suitable configurations for your operations. 

You’ll also want to patch up any other cybersecurity vulnerabilities. And we can help you make that happen. 

If you’d like a quick, non-salesy chat to discuss your cybersecurity and find out where you might have any potential risks, contact us today.


Featured Image Credit

This Article has been Republished with Permission from The Technology Press.

Microsoft

How Microsoft 365 Defender Can Shield Your Company From Phishing Scams

By Cybersecurity, Microsoft No Comments

Phishing can lose you a lot of money and expose sensitive information. Microsoft 365 Defender can dramatically mitigate this risk with several features. 

Phishing attacks are a severe threat to your business. These fraudulent actions can cause your team members to accidentally share financial, customer, and account information with cybercriminals. 

How does this happen?

The issue is that the attackers seem credible since they’re impersonating trusted sources and high-level executives. As a result, your team members may not even have second thoughts about distributing sensitive personnel or corporate data. 

Despite the attempts to raise user awareness of this fraud, phishing emails are still widespread. 

They’re the starting point of most hacking activities and can make organizations lose millions of dollars. In addition, the victim may face legal action, diminished reputation, reduced customer confidence, and business disruption. 

That’s why protecting your business from phishing attacks is paramount. 

Numerous safety mechanisms are available, but Microsoft 365 Defender might be your best option. It comes with various security layers to safeguard against successful phishing attempts.

This article will list the seven key features of Microsoft 365 Defender that can help protect your business from phishing.

The Seven Key Features

Feature #1 – Phishing Email Protection

The most dangerous type of phishing scam involves emails whose sender seems to be an actual entity. The attacker often uses cunning tactics, like referring to the victim by their name or nickname. Sometimes, they can even use real accounts and use them to trick businesses. 

Using machine learning, Microsoft Defender 365 lists the contacts you regularly communicate with. Then, it uses advanced tools to differentiate suspicious from acceptable behavior. The result is more accurate detection of phishing emails. 

Feature #2 – Malware Defense

Different types of malware can spread through phishing emails. 

For example, ransomware locks your files and systems until the attacker receives a ransom. 

Spyware can be even more dangerous. It steals your information by copying clipboards, taking screenshots, or recording keystrokes. 

Microsoft Defender 365 addresses such malware with robust safety mechanisms, namely: 

  • Layered malware defense – The platform comes with multiple malware scan engines to help diagnose potential threats. They provide a robust heuristic inspection to shield your system even in the earliest stages of an outbreak. This type of protection is superior to using just one anti-malware program. 
  • Real-time response – During outbreaks, the platform provides your team with instant access to devices, allowing you to investigate and contain threats in real-time. It also enables your team to collect data and proactively tackle malware. 
  • Rapid definition deployment – The Microsoft 365 Defender team maintains a close relationship with anti-malware engine developers. Consequently, users of the platform receive malware definitions on time. Plus, the company checks for definition updates every hour to help protect you against the latest malware. 
  • Common attachments filter – Some file types aren’t meant for emails, such as executable documents. With that in mind, the common attachment filter lets you automatically block them without any scanning. Some of the file types it can remove include .ace, .exe, .app, .ani, and .scr.

Feature #3 – Spam Block

Another common culprit for phishing campaigns is spam emails. Blocking them is an excellent way to shield your organization from attacks. 

Defender boasts powerful anti-spam technology to address spam emails by examining the source of the message and the contents. If the email comes from untrustworthy sources or contains suspicious information, it automatically goes to your spam folder. 

On top of that, this feature examines your team members’ activity to help make sure they don’t send spam emails to other users. 

Feature #4 – Safe Links

Phishing emails don’t only contain attachments. They can also include URLs to lead your team members to a fraudulent website. 

These web pages often look legitimate, but they generally require the victim to provide some information. Furthermore, they can lead to websites that install or download malware on your computers. 

Safe Links shield your system from malware transmissions using URL detonation. It scans email links and checks for suspicious behavior. 

Microsoft Defender 365 warns you not to visit links that open malicious websites. Otherwise, you can open your destination URLs normally. It’ll also rescan the service sometime later and look for any security problems. 

Another great thing about this feature is that it scans email links from all personnel within your organization. Moreover, it works great on documents uploaded to SharePoint and Microsoft Teams. 

Feature #5 – Sandbox Isolation

Some users, especially if they’re reckless, commonly open malicious email attachments without second thoughts. They can expose company data to prying eyes as a result, which can ruin your reputation and give your competitors the edge. 

Defender can reduce this risk by opening all email attachments in a sandbox. It serves as isolation, meaning that malicious files can only affect the sandbox rather than your system. 

Once the program isolates malware, it’ll warn you not to open it. But if the attachment is safe, you’ll be able to use it normally.

Feature #6 – Enhanced Filtering

Enhanced Filtering is perfect for enterprises that route emails to on-premises environments with third-party services before sending them to Microsoft 365. 

The platform comes with inbound connectors that verify whether your email sources are trustworthy. The higher the complexity of the routing scenario, the higher the chances are that email connectors don’t reflect their real source. 

What’s more, this feature preserves the authentication signals that may have disappeared while routing emails. It enhances the filtering capabilities of Microsoft 365, allowing it to detect phishing and spam emails more effectively. 

Feature #7 – User Submissions

Microsoft Defender lets you set specific mailboxes where you can send any threatening emails. 

This feature allows you to determine the criteria for safe and malicious email while identifying the mailboxes that will store these messages. Thus, your administrators have more control over flagging emails and reporting them to Microsoft. 

Microsoft 365 Defender Is a Sure-Fire Solution

Phishing attacks can spell disaster for your company. To neutralize the threat, integrate your office’s computers with Microsoft 365 Defender. 

This platform can keep your system intact with dependable security measures. It can also detect malicious activity on time, enabling you to address it before it spreads and compromises your privacy. 

Using Microsoft 365 Defender is just one part of your cybersecurity. If you’d like a non-salesy chat to help determine other potential risks in your network, reach out to us today.


Featured Image Credit

This Article has been Republished with Permission from The Technology Press.

Lucky Door Prize Mikrotick Router

Trucell won the lucky door prize

By Networking No Comments

Lucky Door Prize Mikrotick RouterBig thank you to the team at the Internet Association of Australia and for awarding us the lucky door prize of a MicroTik hAP at the last meeting, on how to Build an ISP on a Budget. We look forward to messing around with the hAP!

Trucell joined the association to build a better understanding of all things internet, as well as gain access to industry knowledge and advice. The Associations regular monthly meetings and physical meetings offer a wealth of knowledge along with industry contacts that could help us on future projects. We look forward to the next meeting!

Meeting Matthew from X Integration and his presentation on building a budget ISP has inspired us to get the ball rolling on our own ISP. With the Carrier registration of our new business Ripple Networks, our new ISP is ready to start provisioning internet connections.

Grand Opening of Butler Medical Imaging Western Australia

By Health No Comments

Western Australia welcomes Trucell, our first Radiology site in WA. After months of dealing with contractors, internet service providers and modality vendors we are finally in Western Australia setting up the network and computers to talk to the RIS and PACS located in Sydney NSW.

We were tourist at heart driving a lap around the city before heading to site to get the work done.

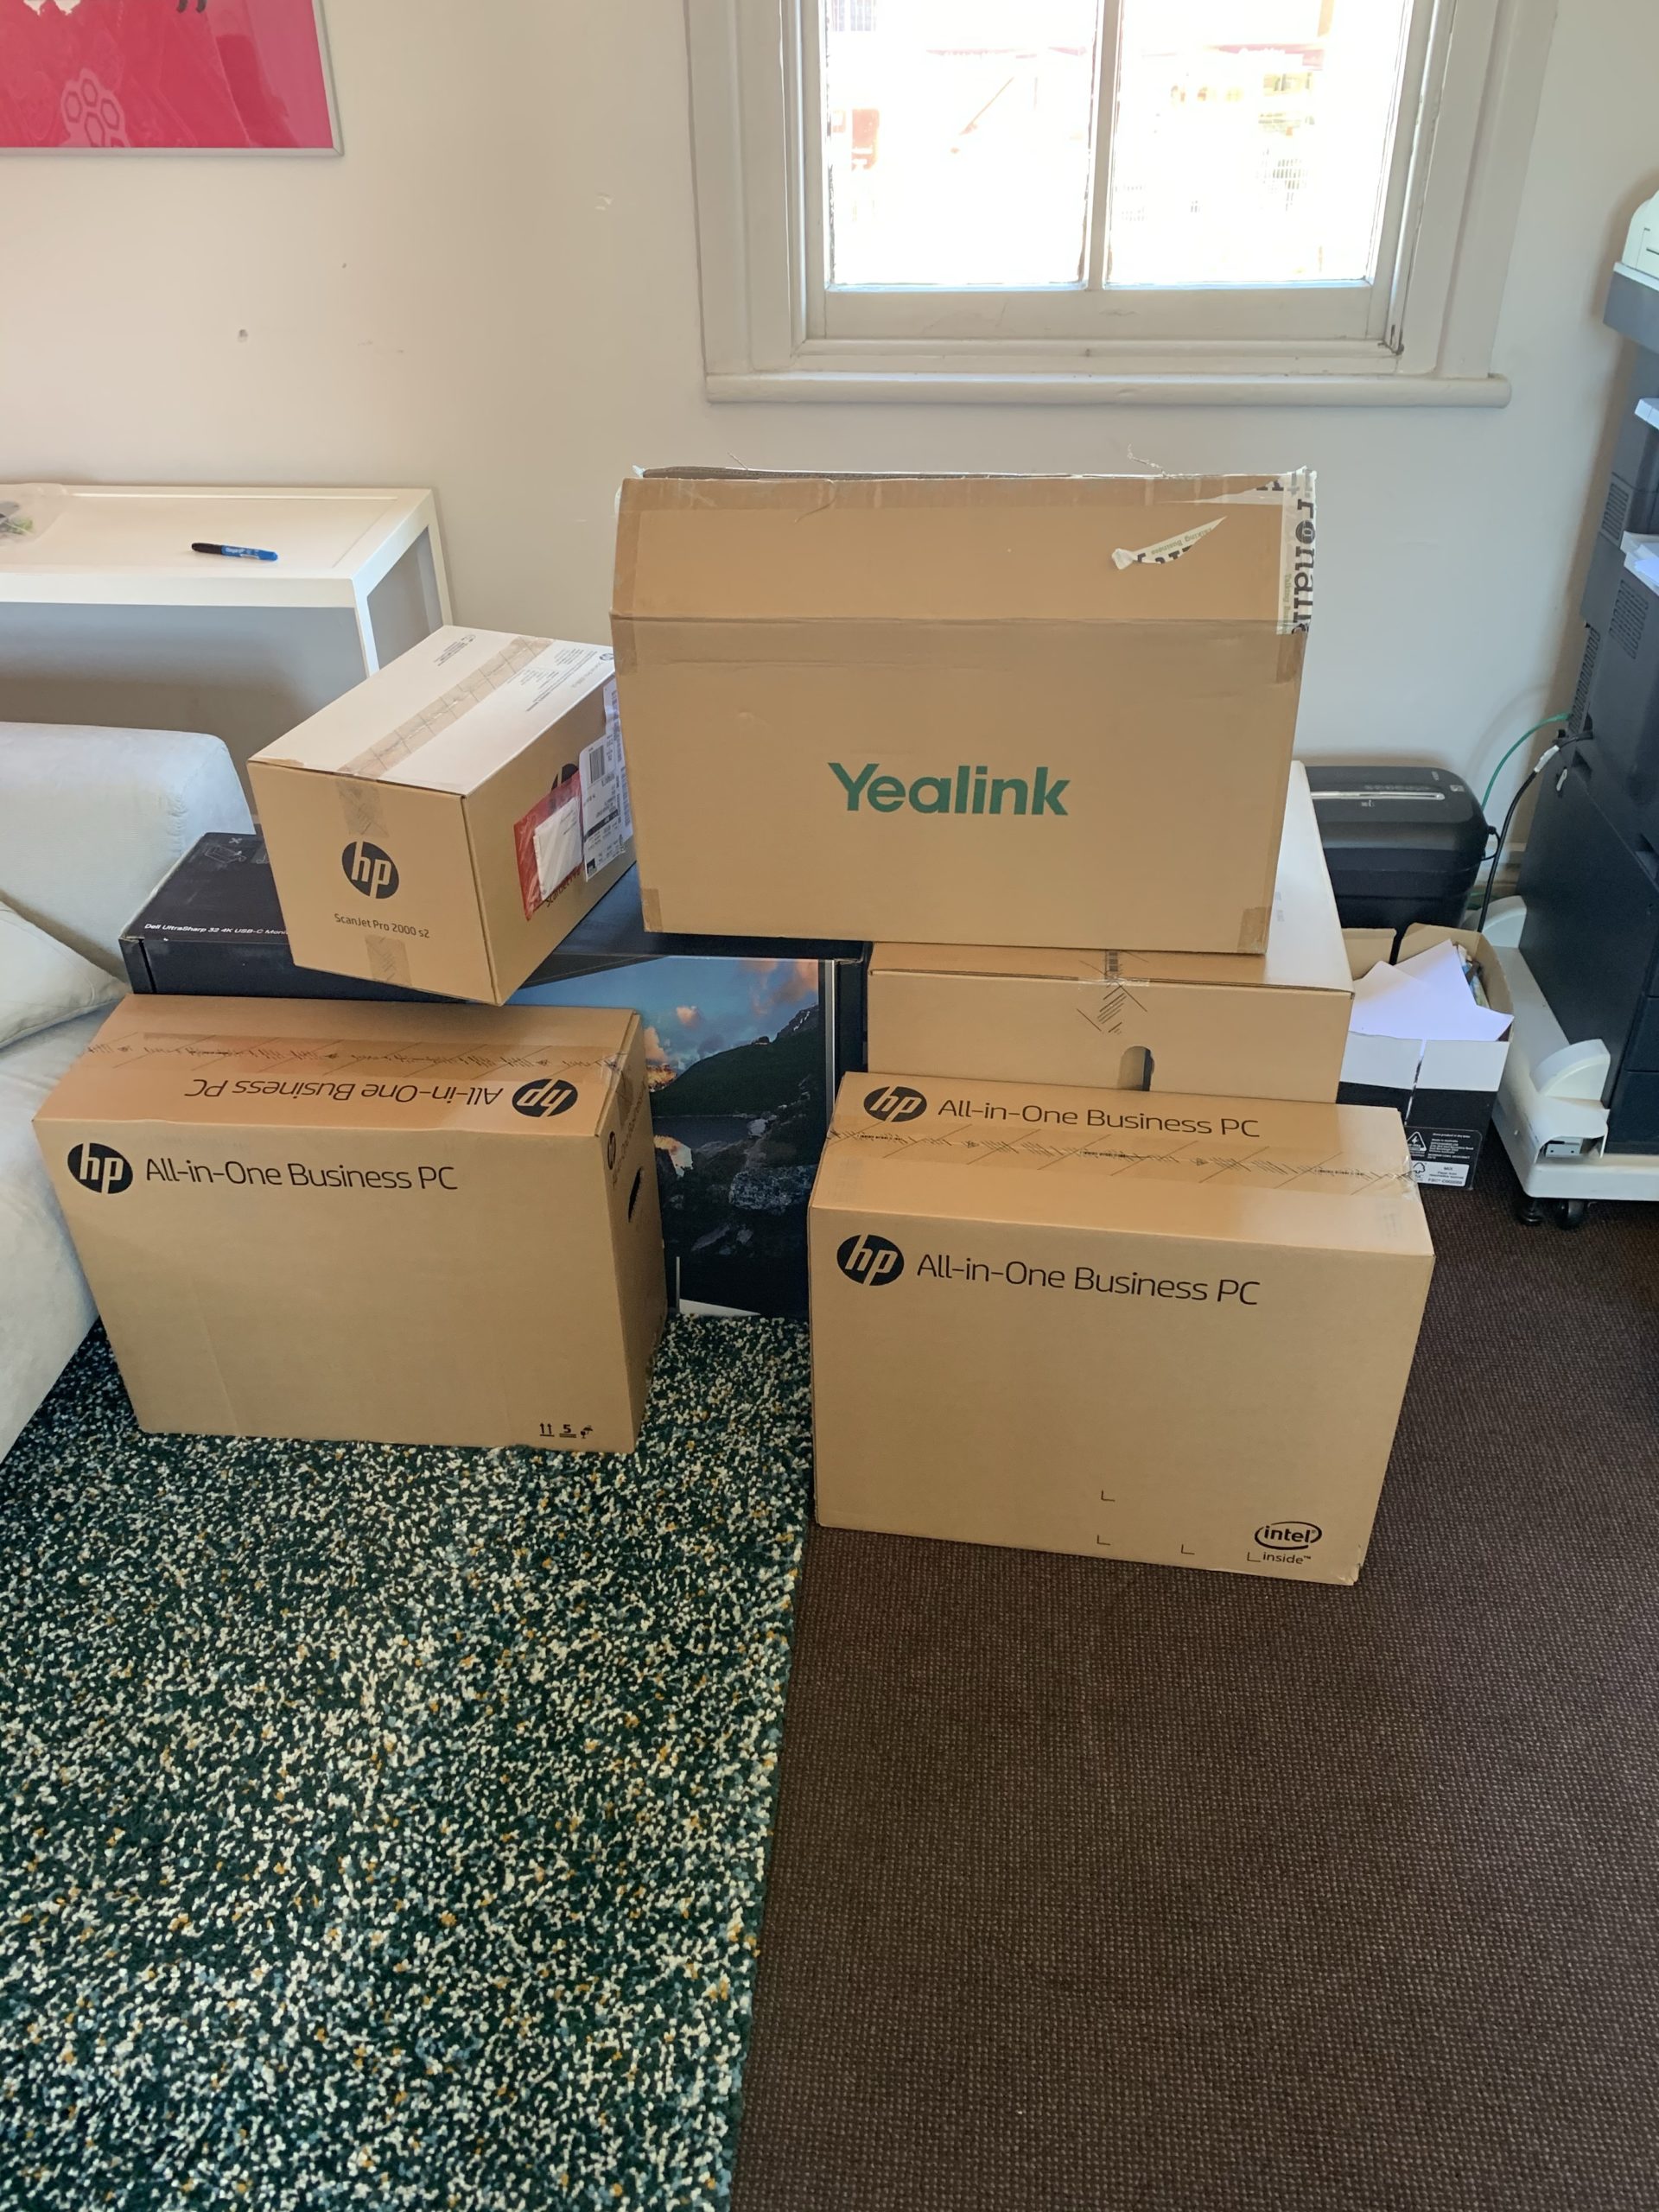
We arrived and jump straight into the task of installing the equipment and ultimately making a rubbish pile of HP equipment.

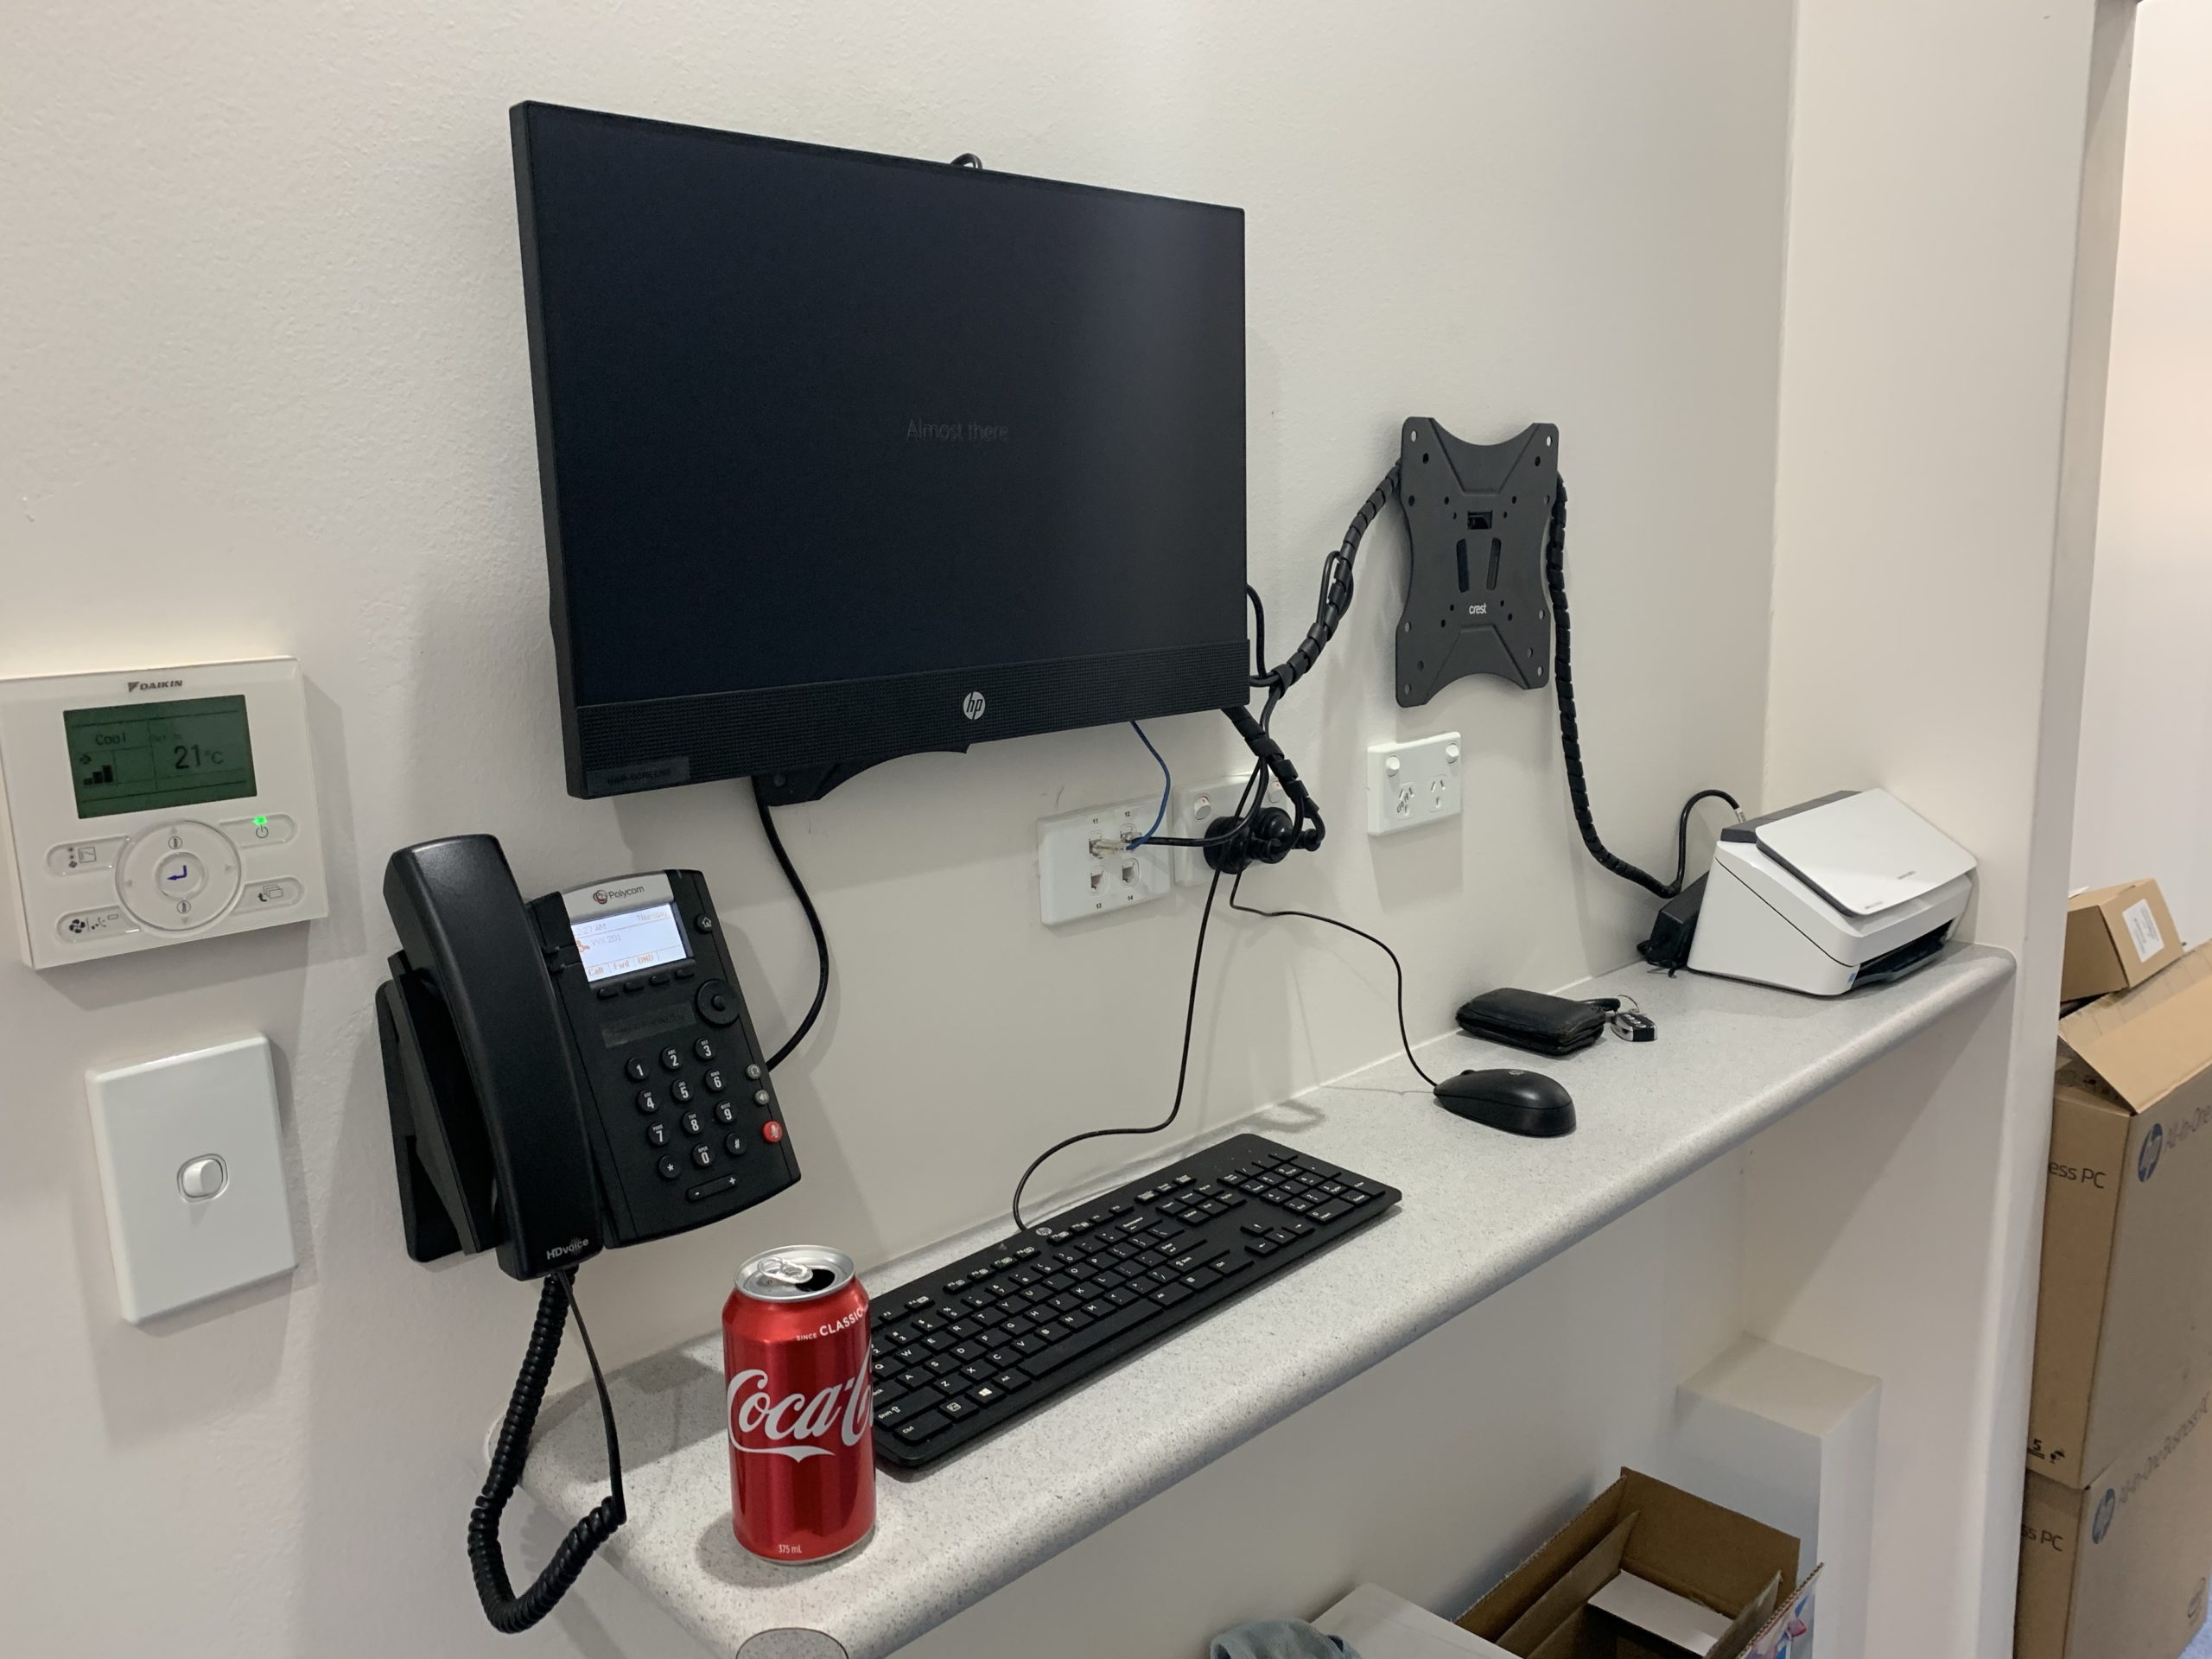
The new HP all in ones maximised the available space in reception. The HP enterprise laser printer centralised printing in reception.

Grand opening of Harris Park Radiology NSW

By Clients, Health No Comments

The owners tell me that it’s been almost a year of negotiating with the Parramatta Council to get the necessary changes to the historic building. We have been helping for half of that time.

Site IT features:

  • 1000/1000 Fibre
  • Fortinet FortiGate 100F with UTM Threat Protection
  • Fortinet FortiSwitch configured and managed by the FortiGate.
  • Latest Model HP 600 series all in ones
  • Latest Model HP Z1
  • HP Enterprise LaserJet Printer
  • Fonality Phone System with Cloud Backup
  • Kestral Karisma K4
  • Intelerad PACS
Lead Engineer Jason Replacing Motherboard

Timing is everything, SLA’s give us piece of mind

By Trucell Research No Comments

When a server fails, it usually happens at the worst possible time, whats your IT Service providers commitment to your business? Do you have a Service Level Agreement to protect your business?

All major server manufacturers distributed by us come standard with an on-site manufacturers warranty and Service Level Agreement that covers the server for hardware support and hardware replacement, the average period of coverage is three years from the date of invoice. We can tailor the manufacturers support to meet your businesses requirements to give you peace of mind.

Lead Engineer Jason Replacing MotherboardIf you’re a Radiology Practice with an Intelerad MST1 server running on HP DL380 G10 server which becomes unresponsive at 4.50 pm, what do you do? Once we were on top of the issue and had determined that a new motherboard was required we had exhausted the remaining 10 minutes; it was now past 5 pm which is the cut off for Next Business Day support.

Any server is challenging to lose access too but to have an entire day without it and no possibility of fixing it you want to do everything in your power to keep the client going and restore redundancies in their infrastructure.

So after a couple of minutes of talking to different support engineers at HP, we were able to get the replacement motherboard part sent out without a Tech. As a result, we were able to apply the fix, which has meant that we have a chance of sorting out the server the next day.

After a couple of screws and bolts removed we were able to get the new motherboard installed. It solved part of the issue, but we later determined that a new array controller and the drive was required to get the server back to 100%.

In summary, Trucell’s Proactive IT Support coupled with manufacturer training and Trucell’s HP Gold Partnership gave us the support to get this server operational again and reduce the disruption to the clients business.

Inteleviewer Installation Step 1

How to install Intelerad Medical Systems Inteleviewer

By Intelerad No Comments

As one of the lead medical imaging software packages in the Australian radiology space, we are always getting asked by clients to provide installation instructions or a user guide on how to perform the installation of Intelerad Medical Systems Interviewer. It is a fairly straightforward installation and to begin with, it is important that you have administrative access to the PC or Apple computer you wish to install the software on. A username and password for an account that has access to an Intelerad server, and finally 10 minutes to perform the installation.

  1. Browse to the clients Intelerad Server Internal or External Address (Example https://pacs.svcmi.com.au/InteleViewer-tracks/stable/ )via your web browser
    1. Microsoft Internet Explorer
    2. Microsoft Edge
    3. Mozilla Firefox
    4. Apple Safari
    5. Google Chrome
    6. Any other internet browser
  2. Based on the operating system and architecture of your operating system, you will need to select which installer to download In this example, I am running Windows 10 64-bit edition and will need to select the 64-bit Windows installer and click Download InteleViewer under that menu (example below).
  3. Wait patiently as InteleViewer downloads
  4. Once loading is complete, please go to the folder where it downloaded (generally it’s in your Downloads folder) and run the installer as an administrator (if possible). Hint: You can access this via the Quick access menu in your file explorer window on Windows 8/10.
  5. Double click the file you downloaded and it will open.
  6. If you are prompted to allow the application to run, please click Yes
  7. Please wait while the installer initialises
  8. InteleViewer’s license and terms +conditions of use will open. In order to proceed with the installation please select “I accept the terms of the License Agreement” and then click the Next button.
  9. You will also need to agree to Oracle’s Java licensing. In order to proceed with the installation please select “I accept the terms of the License Agreement” and then click the Next button.
  10. The installation will ask where you would like to install InteleViewer, in this example we will leave the installation folder as default. It is only in rare cases where you may be required to install it to another folder. Please click the Next button to proceed.
  11. The next window will ask if you want all users to be able to upgrade InteleViewer. This is solely up to the end-user. In this example we will allow all users, as this guide is installing the stable track which means the upgrade process will only install the latest stable version. Please click Next.
  12. Please leave this disabled as this is not required, please click next
  13. Please wait patiently as InteleViewer installs.
  14. Once the installation has completed the installation window will disappear.
  15. The InteleViewer installation will create the following shortcuts:
    1. Desktop
    2. Start Menu
  16. Please click or double click one of the shortcuts above to open InteleViewer.
  17. When you open InteleViewer for the first time, a prompt will appear asking which server you want to connect to. Please click the button Enter a New Server.
  18. The new bookmark window will open.
  19. Please type the complete URL on the next line in the Server URL text box and click the OK button: example https://pacs.svcmi.com.au (NOTE: Don’t include the https:// as it will not work, check it is correct by pinging it first.)
  20. Once the address is verified, the bookmark will display in the InteleViewer window. Please note: The bookmark will not be able to be added without internet access.
Fuji Xerox default admin passwords

Fuji Xerox Photocopier Default Admin Passwords

By How To, Office 365, Printers & Scanners No Comments

Unlock your Fuji Xerox Photocopier!

The global default Fuji Xerox Password for admin access uses username11111 and the default password is x-admin

Moving your photocopier to a new network, changing the scanning destinations or simply want to manage the printer. Use the admin account on the photocopier to control the settings of the system.

[table id=1 /]

If you notice any errors, please comment on this post and we will update the details.